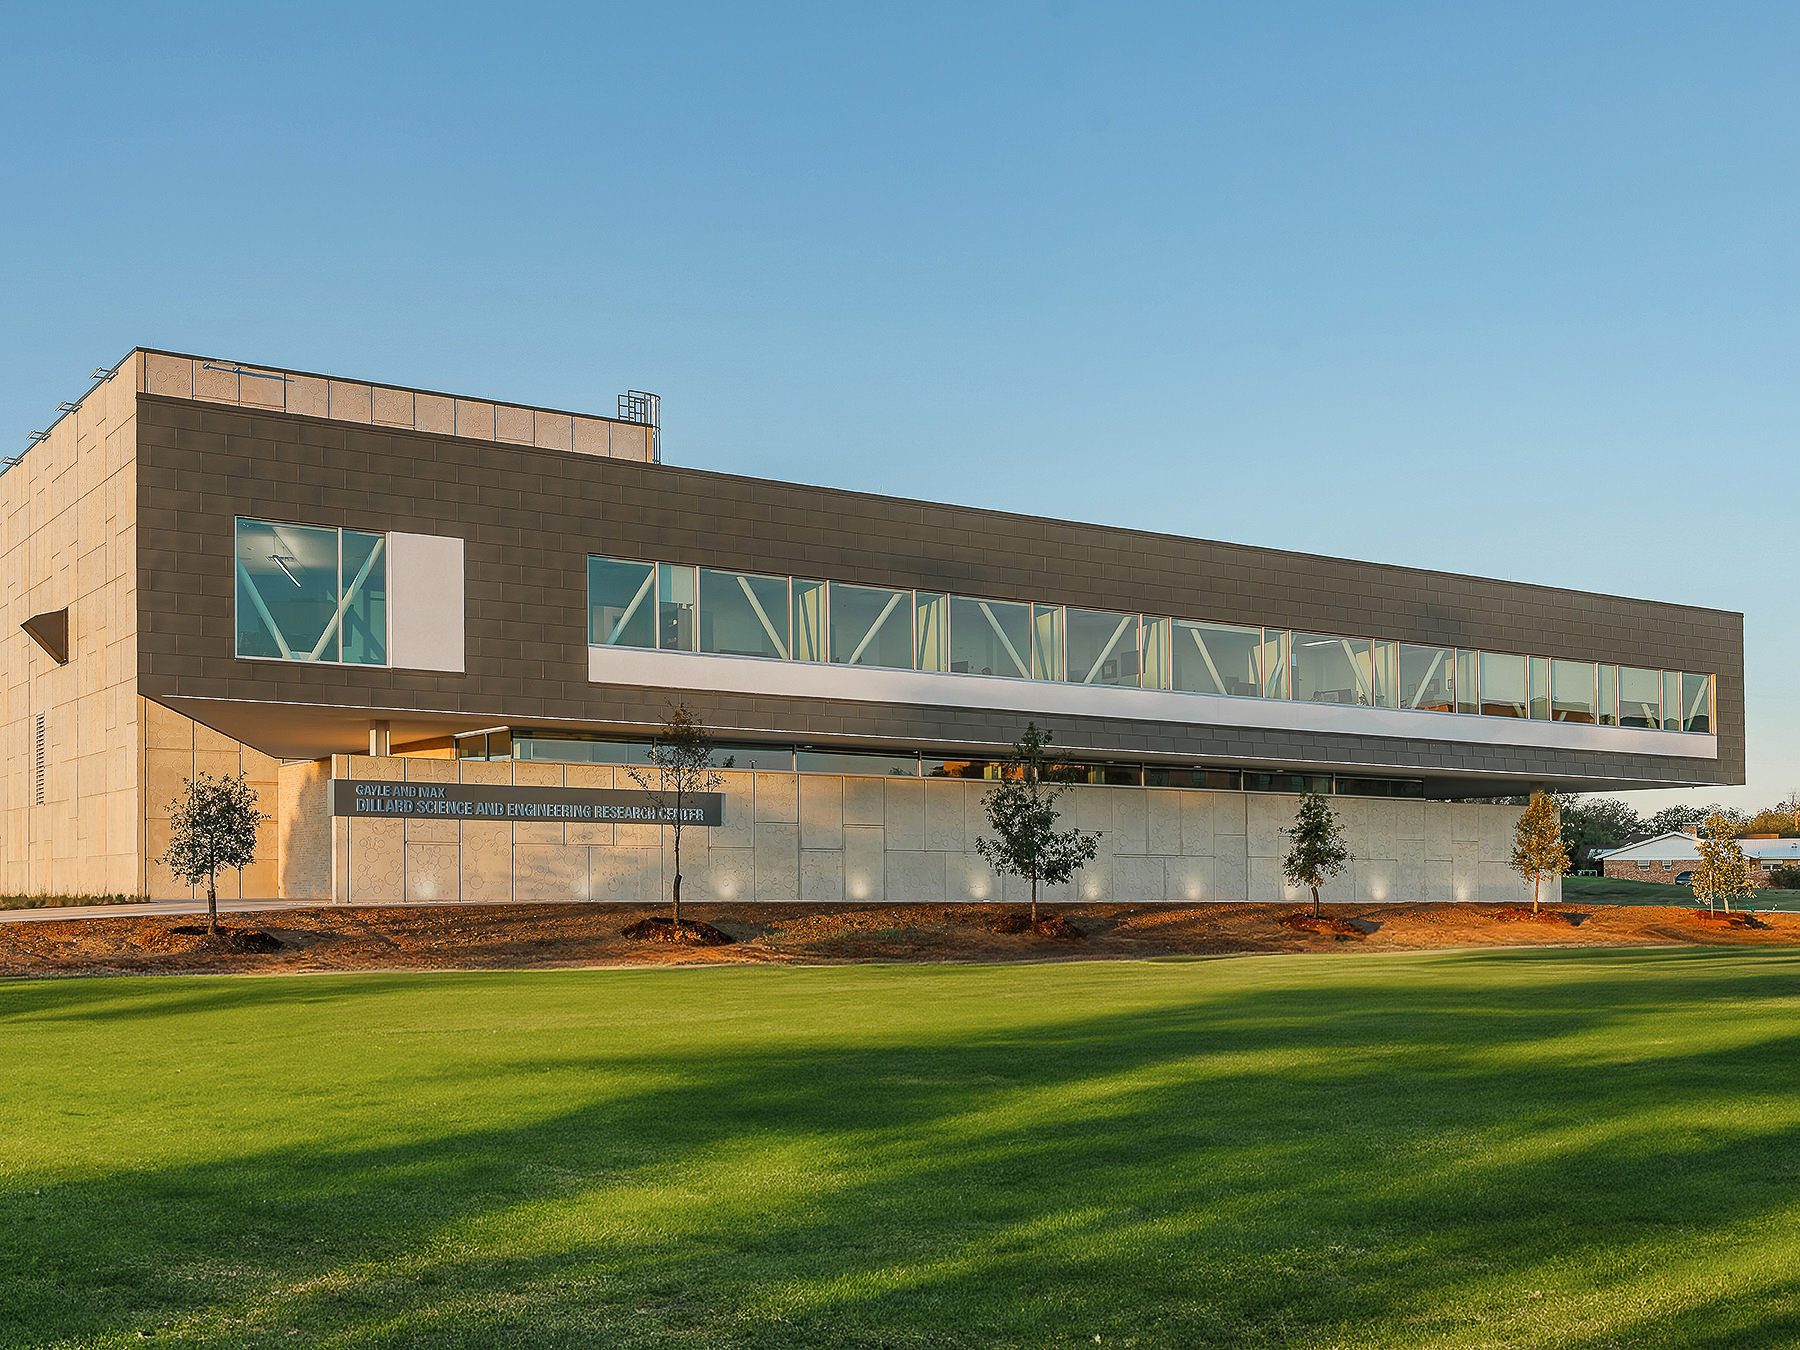
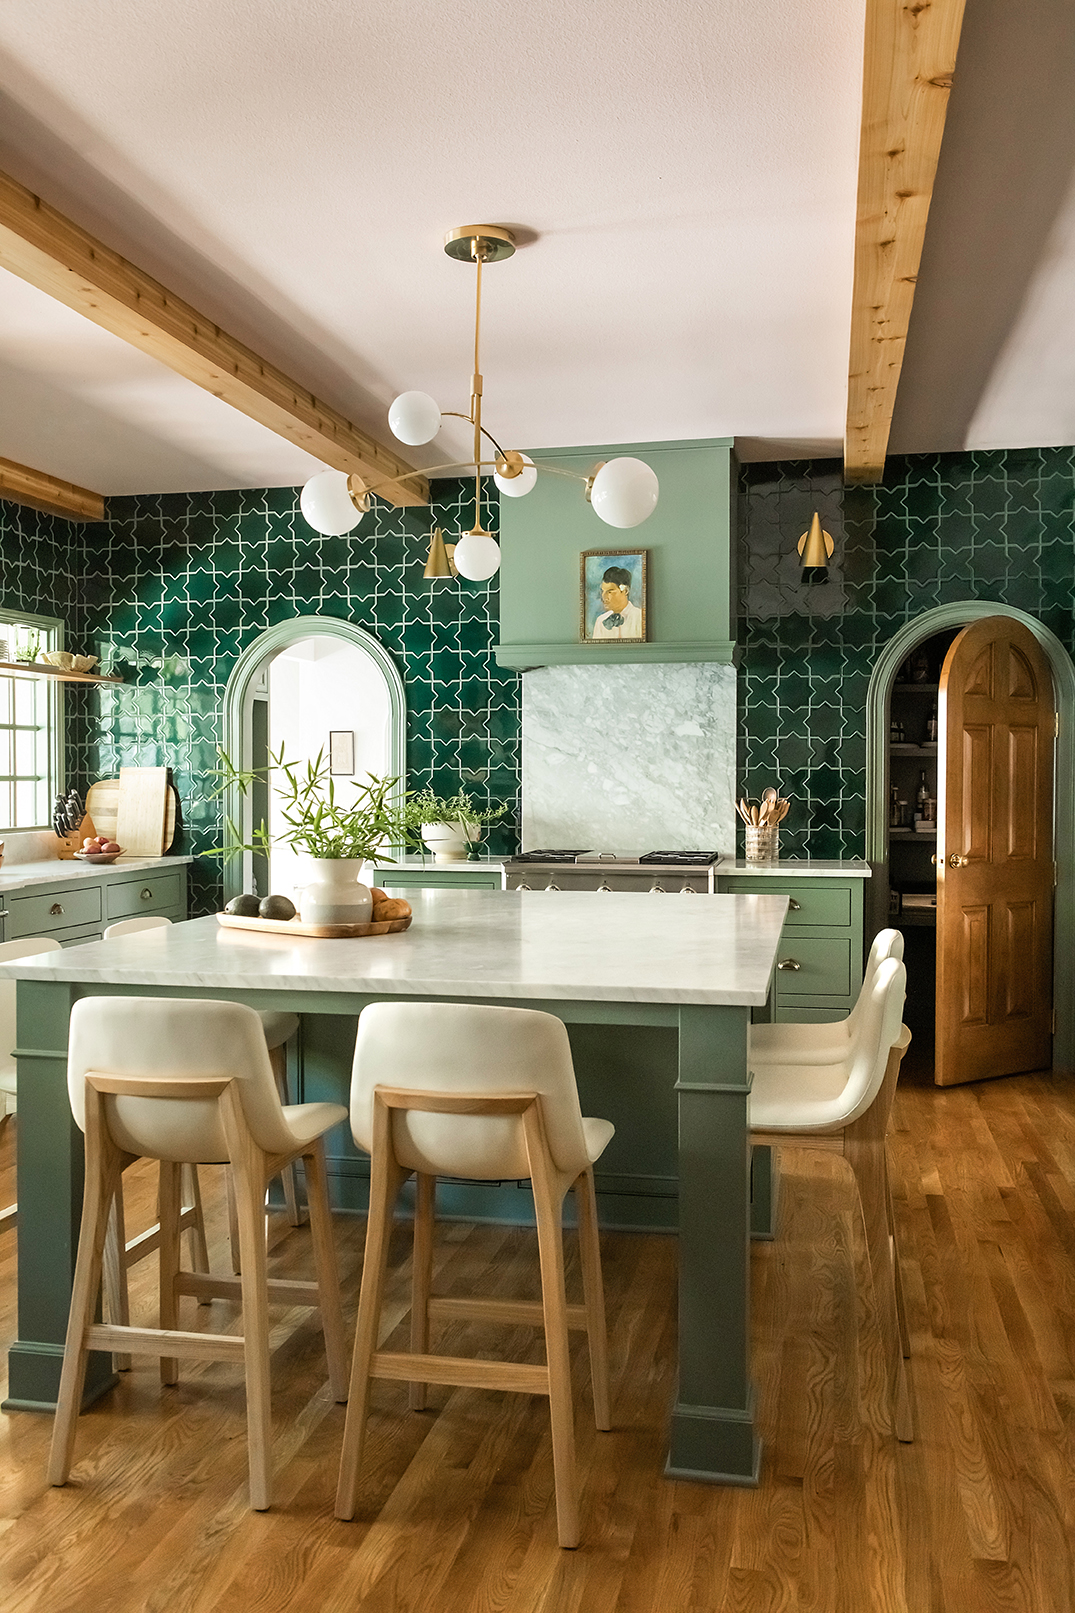
There’s something incredibly satisfying about seeing a space transformed from drab to fab. Home renovation before & after shots capture that magic, showcasing the hard work, creativity, and vision that go into turning a house into a dream home. As Texas interior photographers, we thrive on capturing these stunning transformations, and we’re here to share the joy and tips on how to make your before and after shots truly stand out.
1. Start with the Basics: Proper Planning
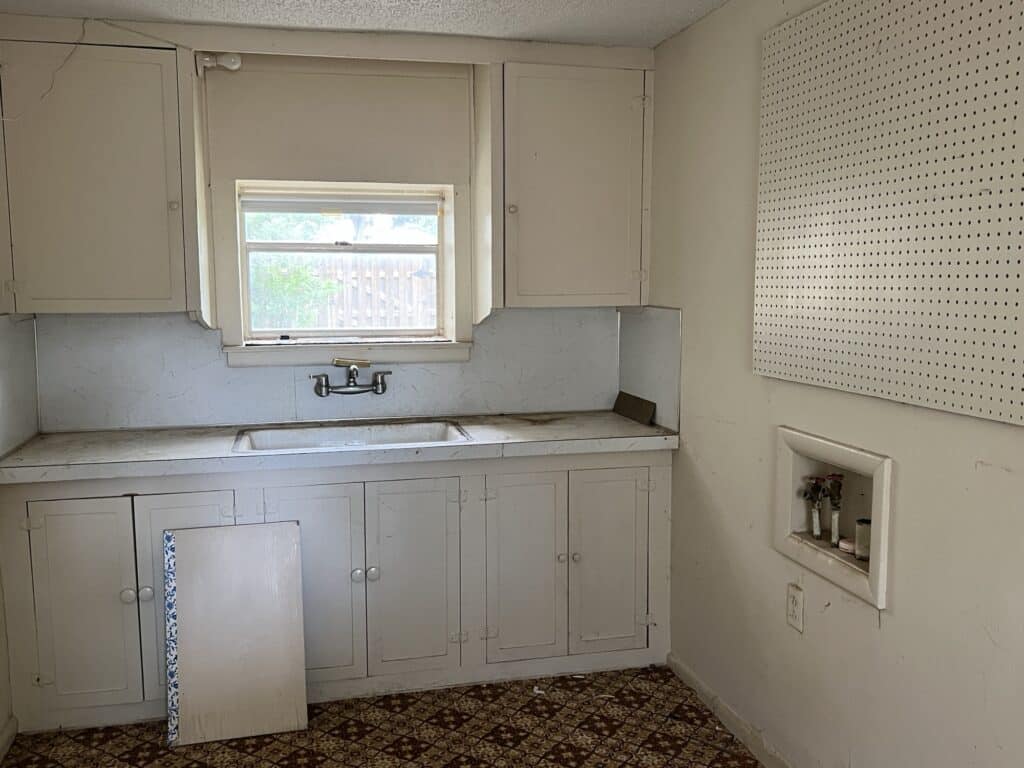
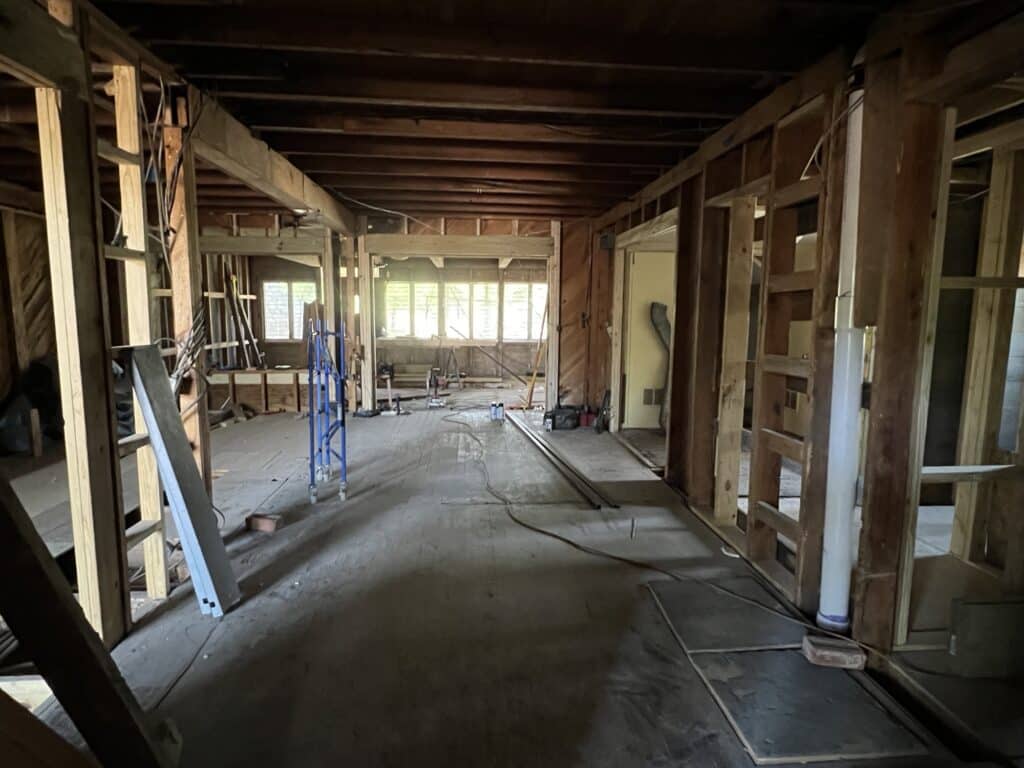
The key to great home renovation before & after shots starts long before the renovation begins. Planning your shots is crucial to capturing the essence of the transformation. Begin by photographing the space in its original state from multiple angles. Take notes on lighting conditions and room layout to ensure consistency in your after shots.
Use a tripod to maintain the same camera height and position for both sets of photos. This consistency makes the before and after comparison more impactful. As Texas interior photographers, we always emphasize the importance of planning to ensure each shot tells the complete story of the transformation.
2. Highlight Key Changes
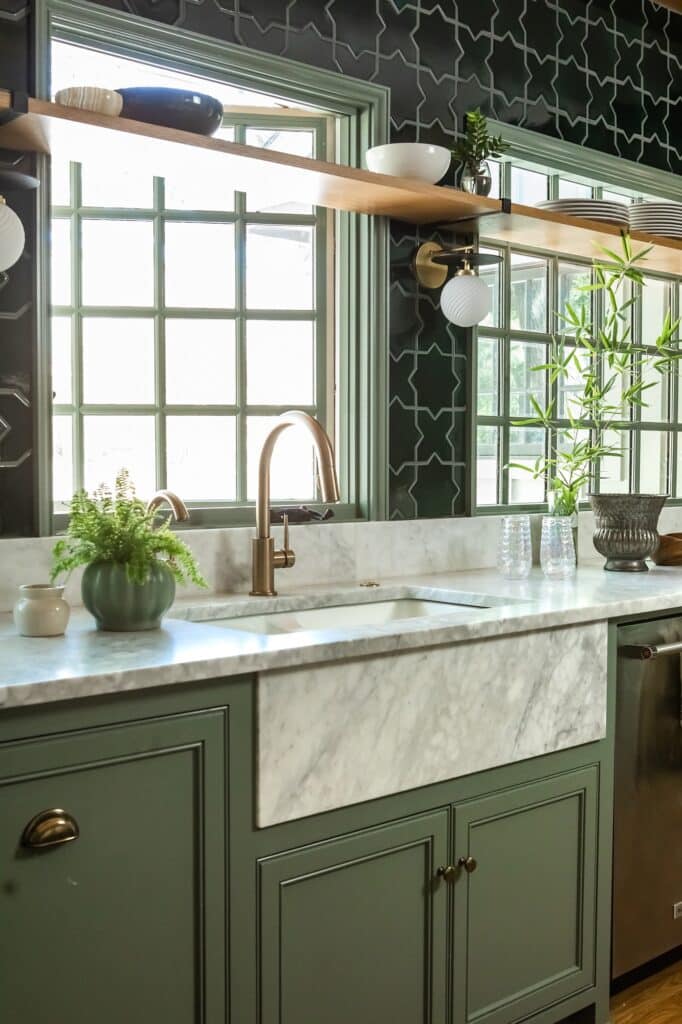
When it comes to home renovation before & after shots, the devil is in the details. Focus on areas where the most significant changes have occurred. This could be a revamped kitchen, a modernized bathroom, or a beautifully landscaped backyard. Highlighting these key areas can make the transformation more striking.
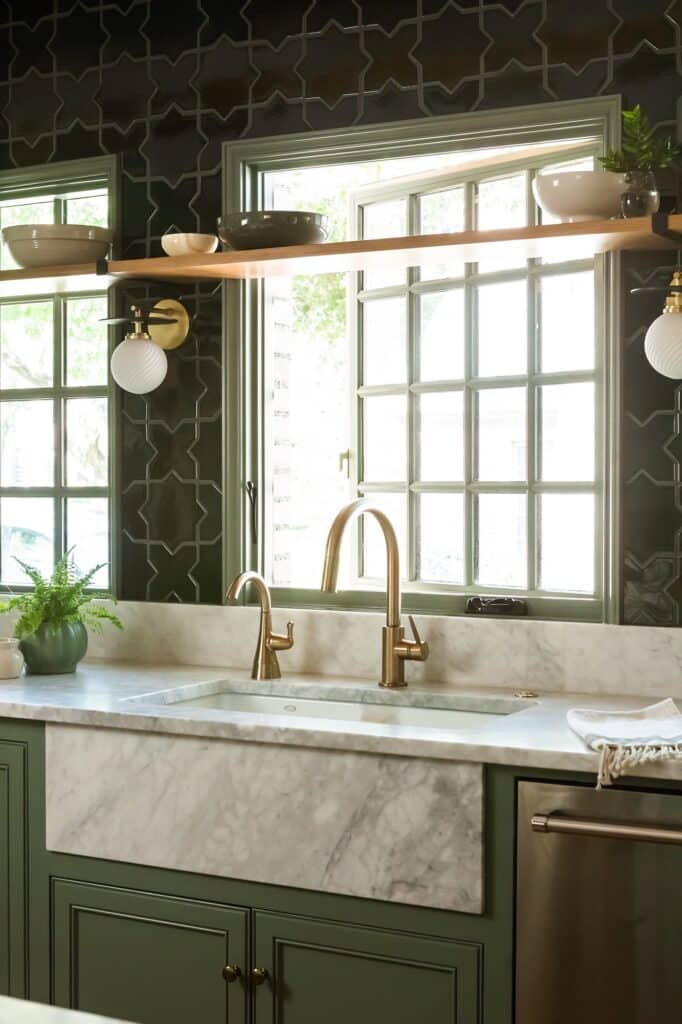
Zoom in on new fixtures, fresh paint, updated flooring, and stylish decor. Capturing these details can showcase the effort and thought put into the renovation. Our experience as Texas interior photographers allows us to pinpoint these focal points, ensuring that the most impressive changes are highlighted in your photos.
3. Natural Lighting is Your Best Friend
Lighting can make or break a photo, especially when capturing home renovation before & after shots. Natural light provides a soft, even illumination that highlights the true colors and details of your space. Whenever possible, shoot during the day when the light is at its best.
Avoid harsh shadows by shooting on overcast days or during the golden hours (shortly after sunrise and before sunset). If natural light is limited, use additional lighting to brighten the space evenly. As Texas interior photographers, we know how to manipulate lighting to enhance the beauty of your renovations and ensure your photos look bright and inviting.
4. Declutter for a Clean Look
A cluttered space can distract from the impressive changes you’ve made. Before taking your after shots, make sure to declutter and clean the space thoroughly. This allows the design elements and renovations to stand out.
Remove any unnecessary items, straighten decor, and ensure that surfaces are spotless. A clean, organized space looks more appealing and professional. As Texas interior photographers, we always stress the importance of decluttering to our clients, ensuring that the focus remains on the stunning transformation.

5. Use Consistent Angles and Perspectives
Consistency is key in creating impactful home renovation before & after shots. Ensure that you’re using the same angles, perspectives, and focal lengths for both sets of photos. This helps viewers easily compare the changes and appreciate the transformation.
Using a tripod can help maintain consistent angles and heights. Take multiple shots from different angles to provide a comprehensive view of the space. Our expertise as Texas interior photographers ensures that we capture each transformation with precision and consistency, making your before and after shots truly memorable.
6. Edit for Impact
Post-processing can enhance the quality of your home renovation before & after shots, making them more visually appealing. Adjust the brightness, contrast, and color balance to ensure that both sets of photos look their best. This can help highlight the details and improvements in your renovations.
Use editing software like Adobe Lightroom or Photoshop to fine-tune your images. Be careful not to over-edit; the goal is to enhance, not alter, the true look of the space. Our experience as Texas interior photographers allows us to expertly edit photos, bringing out the best in each transformation while maintaining a natural look.
7. Tell a Story with Your Photos
Every renovation has a story, and your home renovation before & after shots should reflect that. Use captions or short descriptions to highlight the journey of the transformation. Explain the design choices, challenges, and the vision behind the changes.
Pair your photos with a brief narrative that captures the essence of the renovation. This adds a personal touch and helps viewers connect with the transformation on a deeper level. As Texas interior photographers, we believe in the power of storytelling through our photos, making each transformation feel unique and meaningful.
8. Showcase Different Rooms
Don’t limit your before and after shots to just one room. Showcasing multiple areas of your home can provide a more comprehensive view of the transformation. Highlight different rooms such as the living room, kitchen, bedrooms, and bathrooms to give a full picture of the renovation.
Each room has its own story and unique changes. Capture these differences to show the overall impact of the renovation on the entire home. Our expertise as Texas interior photographers allows us to capture the distinct character of each room, creating a complete and compelling narrative of your home transformation.
Conclusion
Home renovation before & after shots are a fantastic way to showcase the hard work and creativity involved in transforming a space. By planning your shots, highlighting key changes, using natural light, decluttering, maintaining consistency, editing with care, telling a story, and showcasing different rooms, you can create impactful and inspiring photos.
As dedicated Texas interior photographers, we are passionate about capturing the beauty and joy of these transformations. Whether you’re a homeowner proud of your renovation, a designer showcasing your work, or a real estate agent looking to impress potential buyers, these tips will help you create stunning before and after shots that tell the story of your space. Let’s celebrate the joy of transforming spaces and the magic of home renovation before & after photography!

